This is part 2 in the tutorial series on how to train a Tensorflow 2.x object detection model and use it in C# ML.NET. I advise you to read part 1 first if you haven’t already.
1. Introduction
I created a Visual Studio 2022 .NET 6.0 solution which contains all of the example code to get ML.NET object detection running. This code is based on a model which is specifically trained to detect SecurID RSA tokens in an image. These tokens look like this:

2. Clone GitHub repository with contains the full Visual Studio 2022 solution
You can clone the repository with the following command:
git clone https://github.com/lanedirt/ml.net-onnx-inference-rsa.git
Once you have cloned the repository, open up the solution in Visual Studio 2022. You should now see the following directory structure:
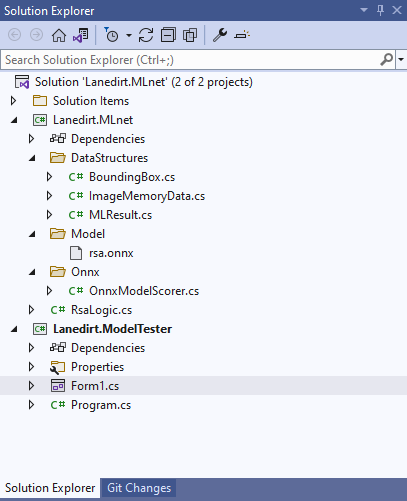
The solution contains 2 projects:
- Lanedirt.MLnet
- This project contains all of the C# ML.NET logic and a wrapper class which contains model-specific configuration and helper methods.
- This project also contains an already trained TensorFlow model converted to .onnx (instructions on how to train your own TensorFlow 2.x ONNX model can be found in part #1 of this tutorial here). You can change this model to your own trained model by simply replacing the Model\rsa.onnx file.
- Lanedirt.ModelTester
- This is a simple WinForms GUI project where you can upload an image and see the object detection working in real life.
3. Run the Lanedirt.ModelTester project
Run the Lanedirt.ModelTester project in debug mode from Visual Studio 2022. You should then see the following screen:
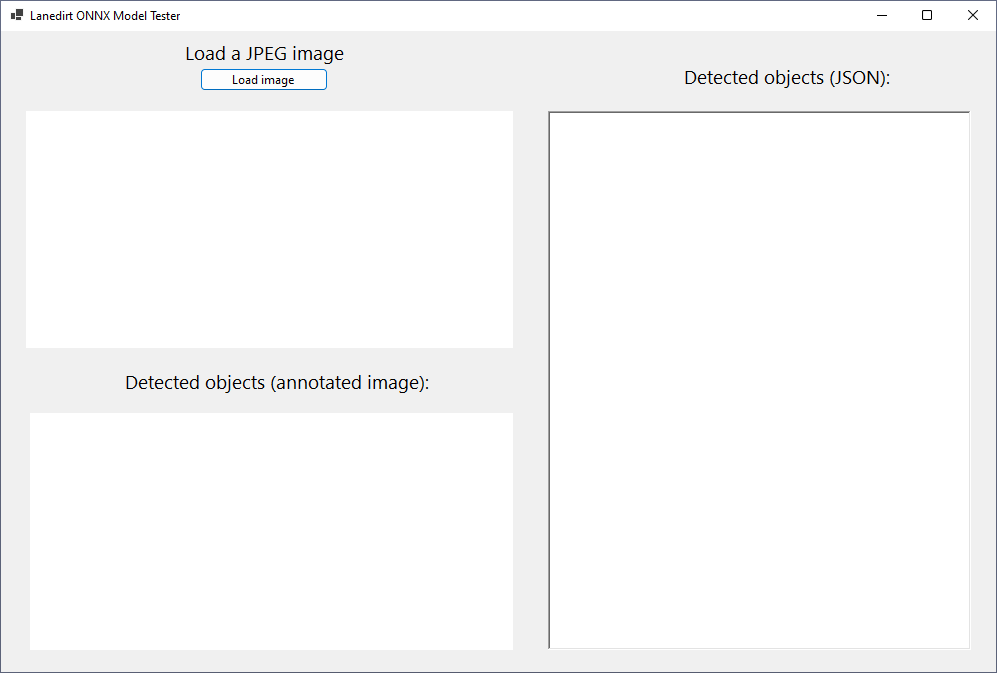
In this screen, click on the “Load image” button and select a .JPG file on your local computer which contains a RSA token.
Tip: for the sake of this example, the solution you just cloned contains 2 example images in the root of the project directory which you can use. For this example I will use the rsa_example_2.jpg file.
When the image is chosen, it will be feeded into the RSA .onnx model and the results will be parsed and shown on the screen. In the screenshot below you can see the original image, the annotated image, and the detected objects in JSON format.

4. Tips and tricks
Feel free to look at the code in this solution to see how the ML.net logic works behind the screens. The source code is well documented.
Everything in this solution is open-source, so you can change any part of the application to use in your own projects.
Any questions? Leave a comment and I will try to help you as good as I can. Good luck!