In order to convert a .MP4 video to images (.png) for every frame, you can use the OpenCV library, which is compatible with .NET framework 5.0.
1. Create new Console App
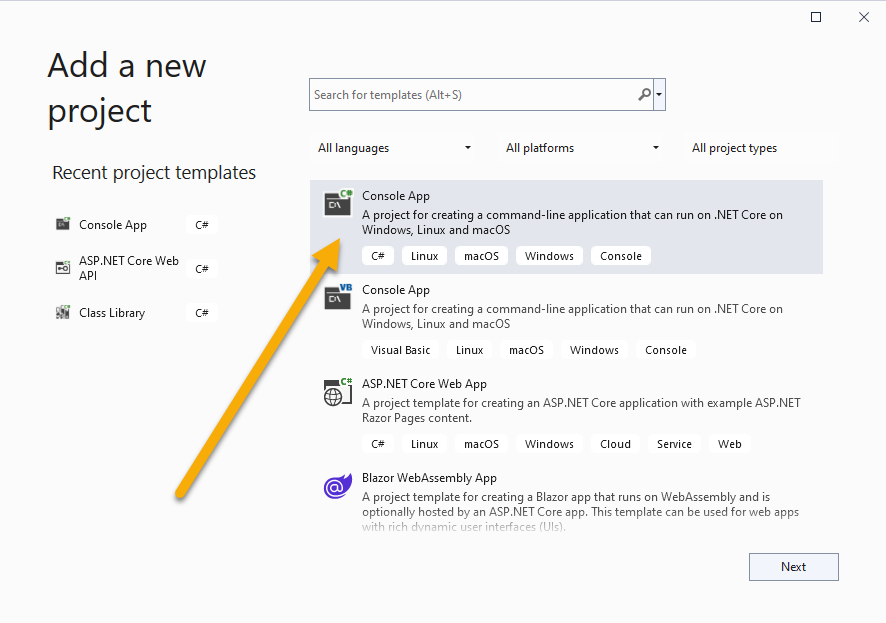
First create a new Console App project in Visual Studio.

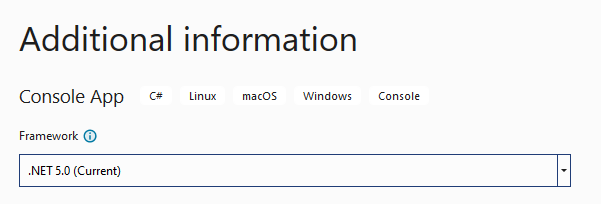
Select “.NET 5.0” as Framework.

2. Install OpenCvSharp 4.x via NuGet
When your project is created, open up the NuGet package manager and search for OpenCvSharp4.Windows.

Install and add this NuGet package to your project.
3. Source code
Open up the auto-generated Program.cs file in your project. Replace the default sourcecode with the code below. Afterwards, make sure to change the following variables to match your usecase:
- videoFile = path to the .mp4 that you want to extract frames from.
- outputPath = path to the folder where the output images should be saved to (relative to project)
using OpenCvSharp;
using System;
using System.IO;

namespace VideoToImage
{
    internal class Program
    {
        static void Main(string[] args)
        {
            var videoFile = "D:\\Ocr\\Video\\10sec.mp4"; // Specify path to MP4 video file.
            var outputPath = "output_images"; // Path is relative to working directory of the app
            System.IO.Directory.CreateDirectory(outputPath);

            var capture = new VideoCapture(videoFile);
            var image = new Mat();
            int i = 0;

            Console.WriteLine("Begin extracting frames from video file..");

            while (capture.IsOpened())
            {
                // Read next frame in video file
                capture.Read(image);
                if (image.Empty())
                {
                    break;
                }

                // Save image to disk.
                Cv2.ImWrite(String.Format("output_images\\frame{0}.png", i), image);
                Console.WriteLine(String.Format("Succesfully saved frame {0} to disk.", i));

                i++;
            }

            Console.WriteLine(String.Format("Finished, check output at: {0}.", Path.GetFullPath(outputPath)));
        }
    }
}
4. Run the application
When you run the application, you should see the following output in the console window:

When the process is finished, you should be able to find all individual frames in the output directory:

Good luck!

