If you have just installed Microsoft SQL server 2019 and are having issues connecting to it from other machines, read here for a possible solution.
If you see the following error, read on:
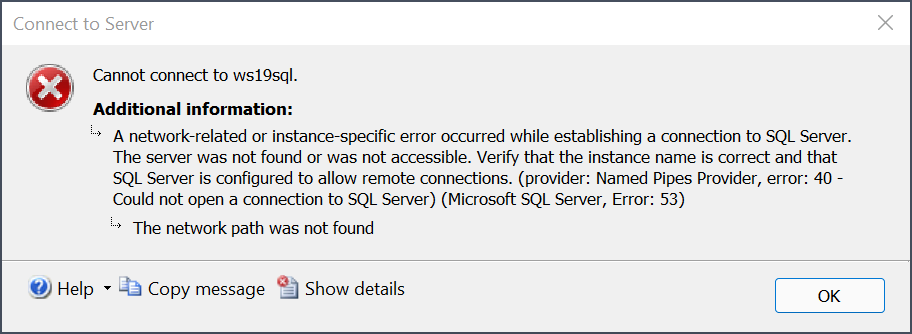
Cannot connect to server.

A network-related or instance-specific error occurred while establishing a connection to SQL Server. The server was not found or was not accessible. Verify that the instance name is correct and that SQL Server is configured to allow remote connections. (provider: Named Pipes Provider, error: 40 - Could not open a connection to SQL Server) (Microsoft SQL Server, Error: 53)

The network path was not found
1. Problem
Usually, when installing SQL server, not everything is configured for remote access out-of-the-box. This means you need to make a few changes to the default configuration to make it work.
2. Make sure TCP/IP is enabled on port 1433
The first step is to make sure the TCP/IP option for SQL server is enabled on port 1433. To do this, follow these steps:
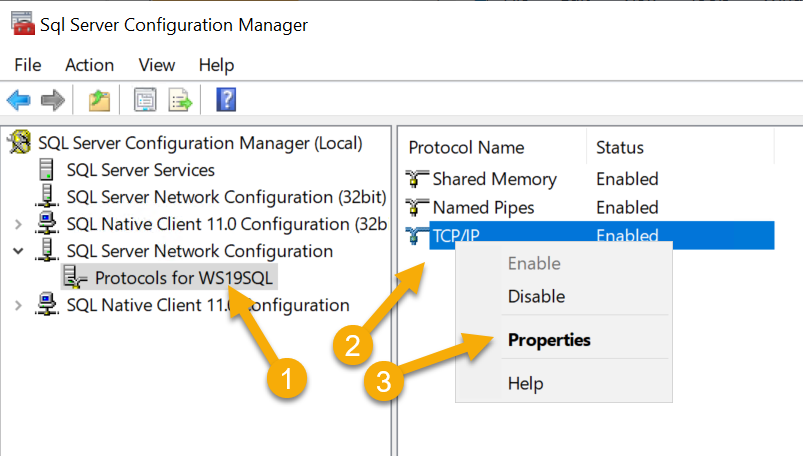
- First open “SQL server 2019 Configuration Manager”.

- Then, in the left tree view:
- Select “SQL Server Network Configuration” –> “Protocols for [instance]”
- In the right view right mouse click on “TCP/IP”.
- (PS: also make sure the TCP/IP record shows “Enabled”, if it doesn’t, enable it now)
- In the context menu, click on “properties”.
- In the next screen, do the following:
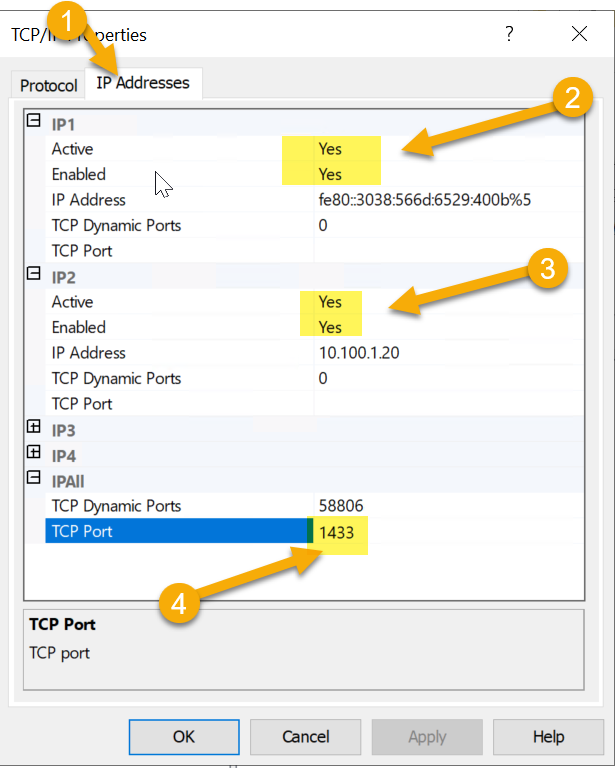
- Click on the tab “IP Addresses”
- Make sure that for every IP address the fields “Active” and “Enabled” are set to “Yes”.
- …
- Lastly, make sure that for the entry “IPAll” the “TCP Port” value is set to “1433”.
- Now click on “OK” and then restart the SQL server processes via
services.msc.
2. (Optional) allow port 1433 in Windows Firewall
If after step #1 you still cannot connect to the SQL server, make sure that the Windows Firewall on the SQL server machine is configured to allow incoming traffic on port 1433. If you are not sure whether you have done this already, follow these additional steps.
First, open up a Command Prompt (CMD) window as administrator.
Then, type the following command:
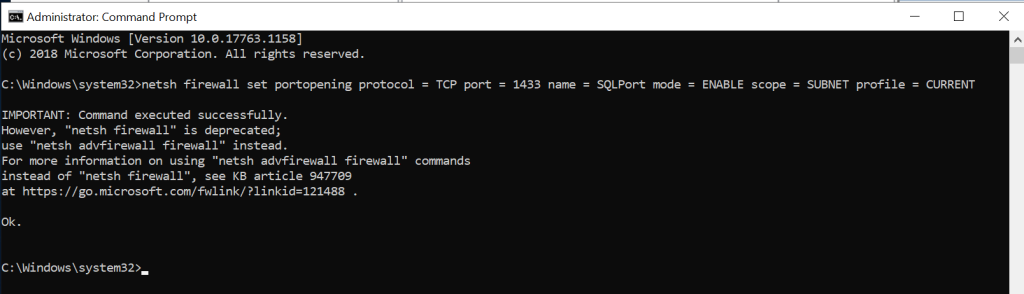
netsh firewall set portopening protocol = TCP port = 1433 name = SQLPort mode = ENABLE scope = SUBNET profile = CURRENT
You should see the following message which contains “Ok”:
3. Test SQL connection again
If you followed these steps, the SQL connection should now work succesfully!
If you are still having trouble however, make sure that all SQL services are running (via services.msc) and that there are no additional firewalls intervening. I hope this article has helped!